Default Currency
 Mexican Pesos
 Canadian Dollar
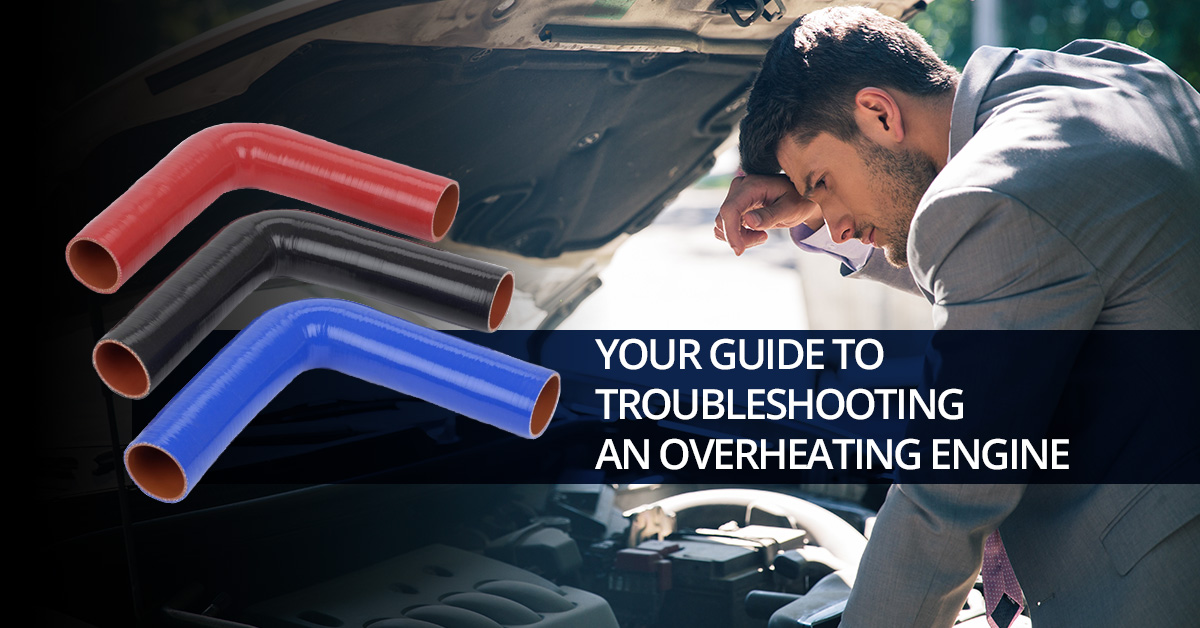

There are many different things that can cause your engine to overheat.
If you’re dealing with an overheating engine, it’s important to know that there are a number of different things that may be causing the problem. And, in order to fix the problem, you’ll first need to identify the source of it. If you’ve had a chance to read our last blog series, then you already know what causes an engine to overheat. Keep reading to learn step-by-step instructions for how to troubleshoot an overheating engine.
*Keep in mind that it’s important to test one thing at a time in order to determine what’s really going on. If you repair more than one problem at once, you won’t have enough information to know exactly what caused the problem. Before performing the following tests, park your vehicle on a flat surface, turn it off and let it cool.
Step #1. Check the coolant levels.
Make sure that the coolant is filled to the very top of your radiator. If the level is too low, add more coolant. Low coolant levels prevent the radiator from cooling your engine properly.
Step #2. Inspect the radiator cap.
The radiator cap is responsible for keeping the coolant system in your vehicle properly pressurized. If the pressure is too low or inconsistent, it can lead to overheating, as well as severe radiator damage. When you remove your vehicle’s radiator cap, inspect it thoroughly for any damage, like rust or corrosion. If you notice any damage, replace the cap.
Step #3. Remove any air from the cooling system.
Any existing air bubbles in your system will prevent the coolant from circulating as it was meant to, and “burping” your system will help to eliminate any bubbles. With your spill-free funnel, add the mixture of coolant and water to the radiator and overflow reservoir until full. Then, leave the radiator cap off and start your engine. Keep an eye on the temperature gauge so that your vehicle doesn’t overheat. After several minutes, the coolant levels will decrease, and any trapped air will be released. Make sure to refill the coolant levels again and replace the radiator cap once complete.
Step #4. Test the radiator fans.
Turn your vehicle on. The climate control settings, including the air conditioning, heater and defrosters, need to be turned off. Otherwise, you won’t get an accurate result from the test. Then, open the hood and watch and listen for the radiator fans to kick on. If the fans don’t kick on and the engine starts to overheat, the problem is probably either the fan motor or the relay responsible for controlling it.
*If the radiator fans are working properly, you can skip the next step.
Step #5. Check the fan motor.
In order to determine whether the fan motor is the problem or the relay that tells the fan to turn on, you’ll need to test the fan motor. Unplug the electrical connector to the fan motor, and expose both of the metal pins that are inside. While wearing gloves, run one length of wire from the positive battery terminal to one of the motor’s electrical pins. Then, run a second length of wire from the negative battery terminal to the motor’s other pin. If the fan stops spinning, there’s a problem with the relay, not the motor.
Step #6. Inspect the serpentine belt.
The serpentine belt is what turns the water pump, which pushes coolant throughout the cooling system. Sometimes, a serpentine belt can break while you’re driving, so start by making sure it’s there. If it’s missing, you will find pulleys without a belt. If the belt is present, make sure it’s tight. If it’s loose, use the tension adjustment screw to tighten it. Also, look for cracks or brittleness.
Step #7. Watch out for leaks.
Big leaks are usually obvious to stop — you’ll likely notice a puddle on your driveway — but small leaks are much sneaker, and they can cause just as much damage. Not only do leaks reduce coolant levels, but they also allow air inside the system, which can cause overheating. To spot a small leak, check for coolant around the radiator hoses. Sometimes, with a small leak, you won’t notice an actual wet spot, but there may be greenish residue near the hoses.
Step #8. Test the thermostat.
Thermostats can sometimes stick in either the open or closed position, and if it gets stuck closed, it will prevent the coolant from circulating properly. Check the thermostat by draining the cooling and removing the water neck, which is attached to the radiator hose. Then, boil some water, remove the thermostat and place it in the water for a few minutes. If it’s working properly, it will be open when you take it out of the water and close as it cools.
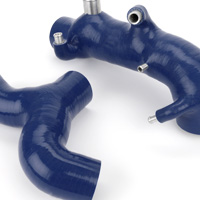
Find the perfect silicone coolant hoses for your vehicle today.
We hope that this guide will help you narrow down what could be causing your vehicle to overheat, and if none of the above steps reveal the problem, it might indicate a much more serious issue. Although we can’t help you avoid every possible cause of an overheating vehicle, we can help to ensure that you won’t end up with leaks due to subpar coolant hoses. Shop our silicone coolant hoses today for added peace of mind!